DIY: Headboard

For several years now, I have not had a headboard and all the wooden ones I’ve ever found a bit interesting (vintage style headboards is what I would consider interesting) are ridiculously pricey and I really didn’t want to sell my internal organs on the black market for a headboard. Being the ‘Recycle As Much As Possible’ person that I am, I decided to venture out to find unwanted wood to make myself a headboard, which is how I ended up with my new favorite thing, a pallet. I have so many project ideas that involve a pallet but here’s a very simple one to try out for now. This probably looks complicated but I promise it’s not at all.
You’ll need:
-A pallet. You can find these at the back of almost every store possible. Most pallets are free but some stores will charge you a couple bucks for the thick wooden vintage ones with lots of character, which is exactly what I wanted.
-A 2-inch paintbrush, NOT a fancy one, the one I used was a dollar and it was from Wal-Mart . Trust me you do not want to get a fancy brush because the worn out wood will destroy your bristles.
-Paint. I had some white paint left over from a previous project and decided to use that on this project too.
*Please note that my bed is a Queen size bed and I measured by bed first, so that I could find a pallet long enough.

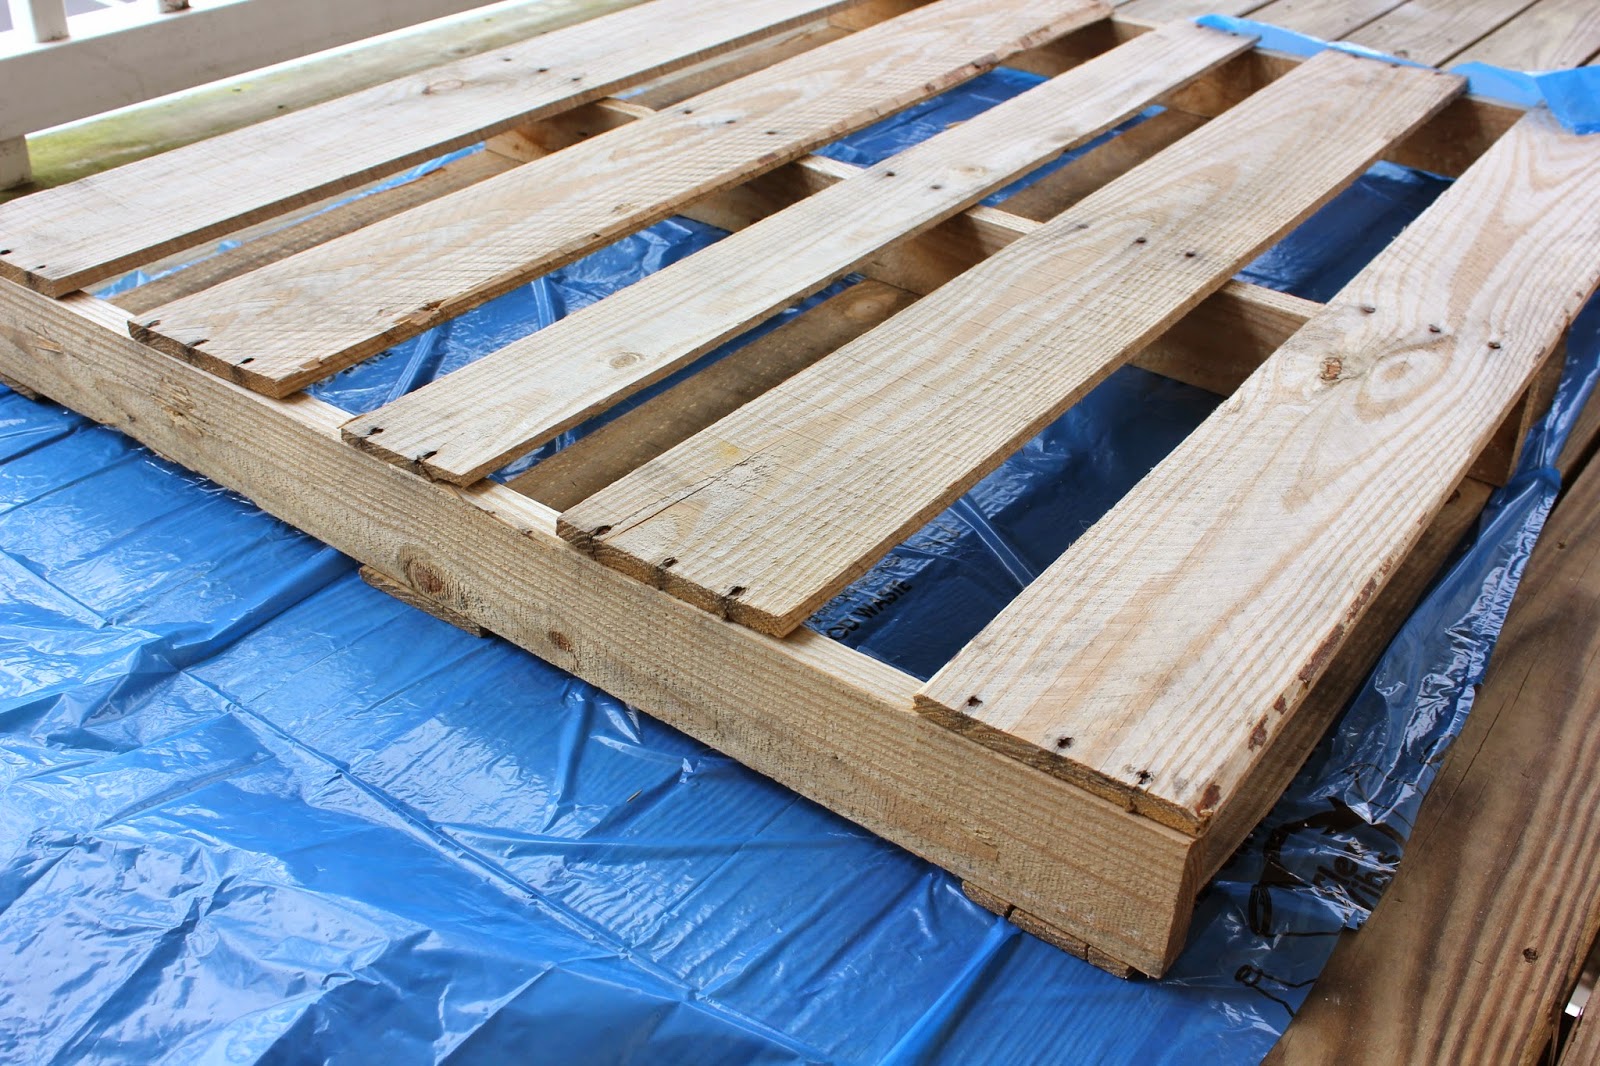
After I picked out a pallet that I liked, one with some chipped corners for character, I wiped it down with disinfectant spray and cleaned it for painting.

Holding the brush on a longitude side opposed to the traditional horizontal way, I very lightly dabbed the brush in paint and painted in lines. Have you ever seen vintage furniture and the paint is fading but it still looks great? Yea that’s how you can reach a vintage look without paying a vintage price. The longer your strokes are, the more your paint will fade, which is what I wanted to do. I did two coats of this painting process and as you can see, it's okay to miss spots. By the way, If you want a fully saturated colorful piece of furniture, please go ahead and paint your pallet the way you’d like to.

(You can avoid this step if you have a low setting bed) I have bed risers that make my bed come up far enough to cover a headboard so I got wood from Lowe’s and had it cut into 2ft in length and hammered one on each side measuring 12inches off the ground. This allowed my headboard to come up the same height as my bed risers.

I just slid it behind my bed and against the wall and since it’s very thick and sturdy, I didn’t have to nail it into the wall or my bed frame.


I now feel like an adult, because all adults have a headboard right? Well yes, I am an adult now. Congratulations to me.
Over the weekend I will make it a goal to find a long pot to place inside the top of my headboard so I can have some sort of moss to add more plants to my collection.
Quick Nightstand Organizing Tips:
So short story about me, I AM A CANDLE LOVER. The moral of that story is that I burn candles like no other and so I’ve developed a few things from the glass left over once the candle is burned. Here’s one of the things I used two of them for:
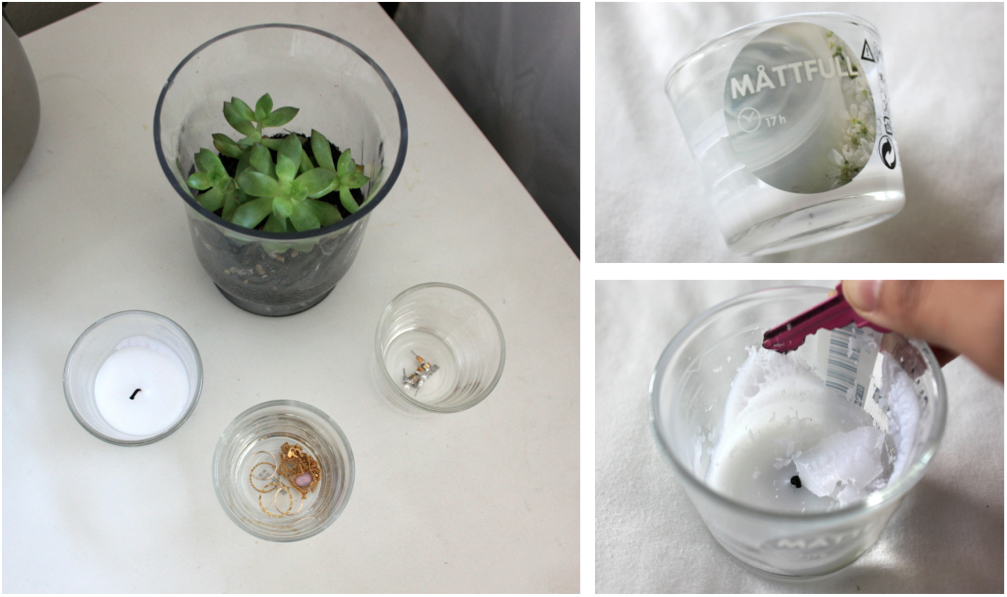
Sometimes after I’m rested in bed and two second away from zoning out into a dream with Justin Timberlake, I realize I still have jewelry on. In the past I was the queen of losing earrings, so I created a super easy way to keep jewelry safely in one place while I slept and I could just put them away properly the next morning.
After I burn out a candle, I remove the extra candle wax with an unused key, and wash them out leaving them clean of wax residue.
That’s it! It’s an easy way to stay organized, not to mention you will be recycling! (YAY YOU ON GOING GREEN!)
All this bed talk is making me sleepy. Justin Timberlake, here I come.
-zz